With the advancement in technology, iPhones have become an integral part of our lives, assisting us in various tasks. However, one feature that has been long-awaited is the ability to schedule texts messages.
While this feature isn’t directly built into iOS, you can accomplish it using the Shortcuts app, a powerful automation tool available on iPhones. In this guide, we’ll walk you through the steps to schedule a text message without using a third-party app.
Is it possible to schedule a text message on an iPhone?
Yes it is possible. You can schedule your text messages on your iPhone using the Shortcuts app. Using this technique, you may make it easy to send birthday greetings or any reminders at a specified time you want.
However,if you desire to schedule texts with more advanced personalization options you can use with other available third-party applications
How to schedule an iMessage on iPhone? Is it Possible?
Unfortunately, that is not the case. Although third-party applications and the Shortcuts app can be used to generate text messages in advance, this functionality is not available on iMessage.
Unlike text messages, iMessages function exclusively through an internet connection. Additionally, an Apple device is required for both the sender and the recipient, which is a distinct limitation.
Having resolved that uncertainty, lets look at how to send a delayed text message using an iPhone.
Why UGREEN Magnetic Power Bank is best for iPhone? Grab With Exclusive Discount !
How to schedule a text message on an iPhone using the Shortcuts app
Step 1: Download Shortcuts App (If Not Installed):
If you haven’t already installed the Shortcuts app on your iPhone, you can download it for free from the App Store. The Shortcuts app allows you to automate tasks and create custom shortcuts for various functions on your device.
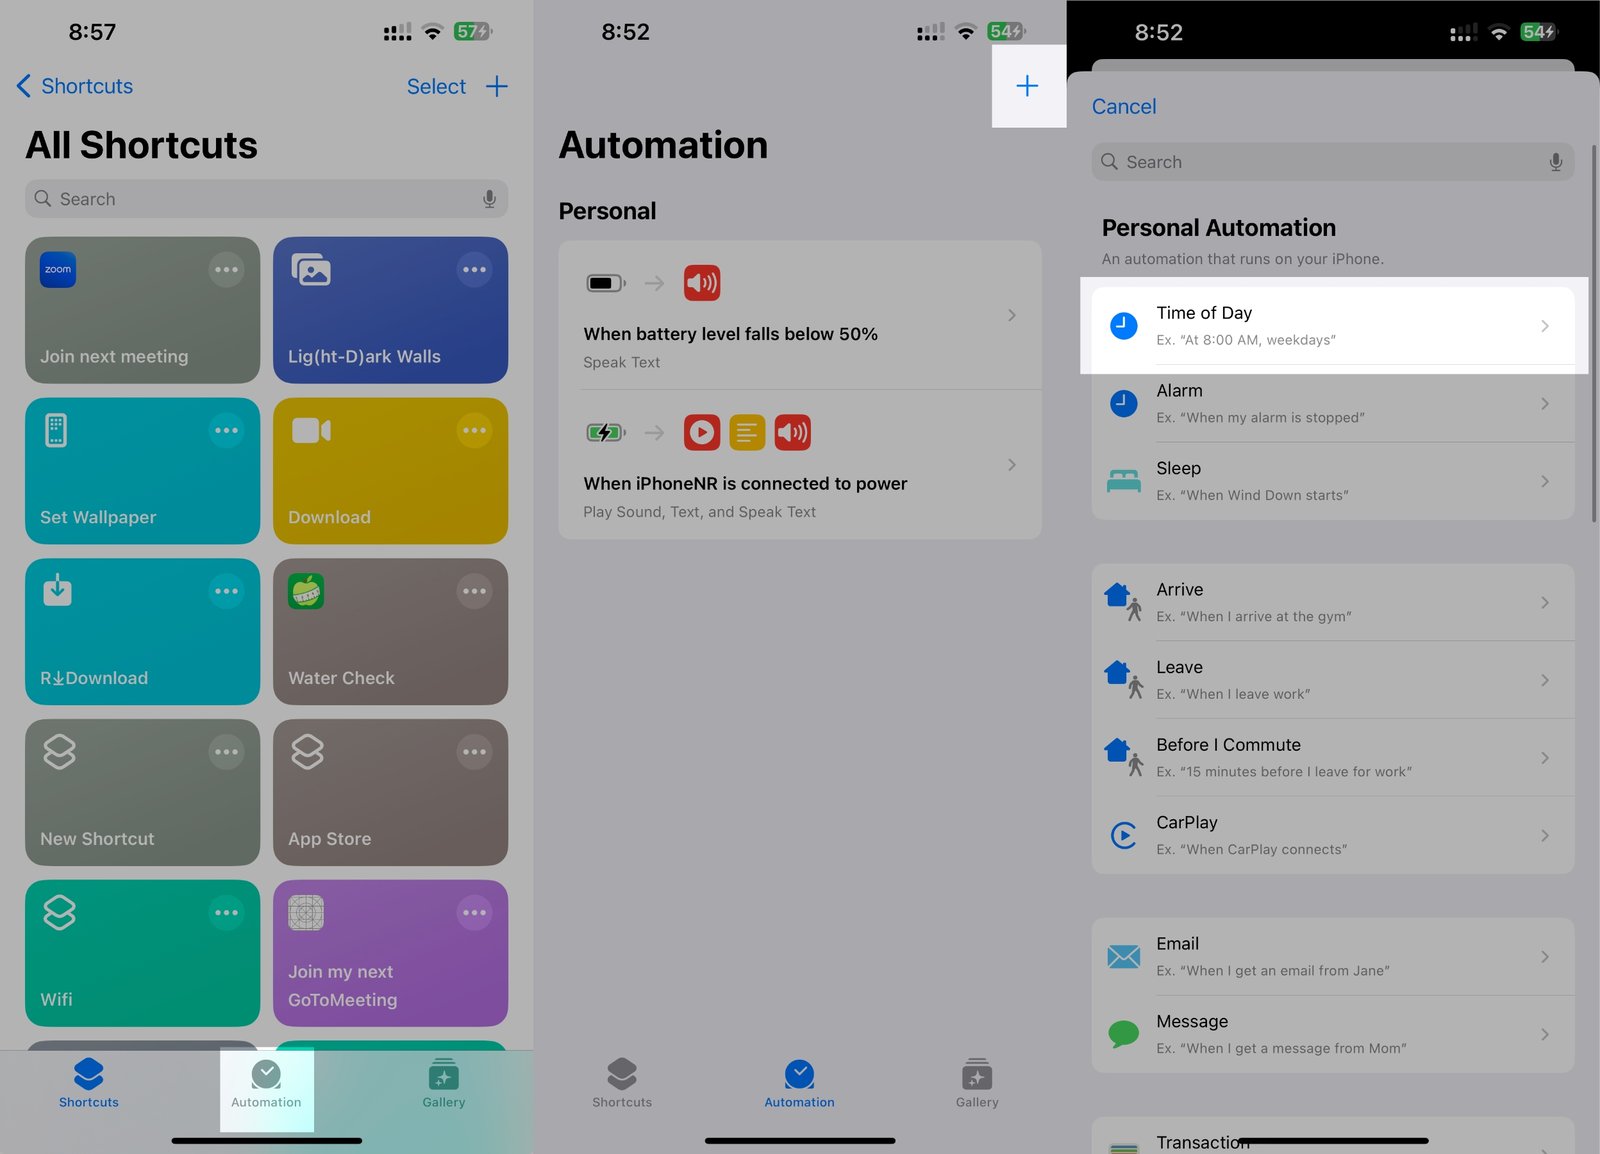
- Open the Shortcuts app → Select Automation tab at the bottom.
- Tap + icon for New Automation → Choose Time of day.
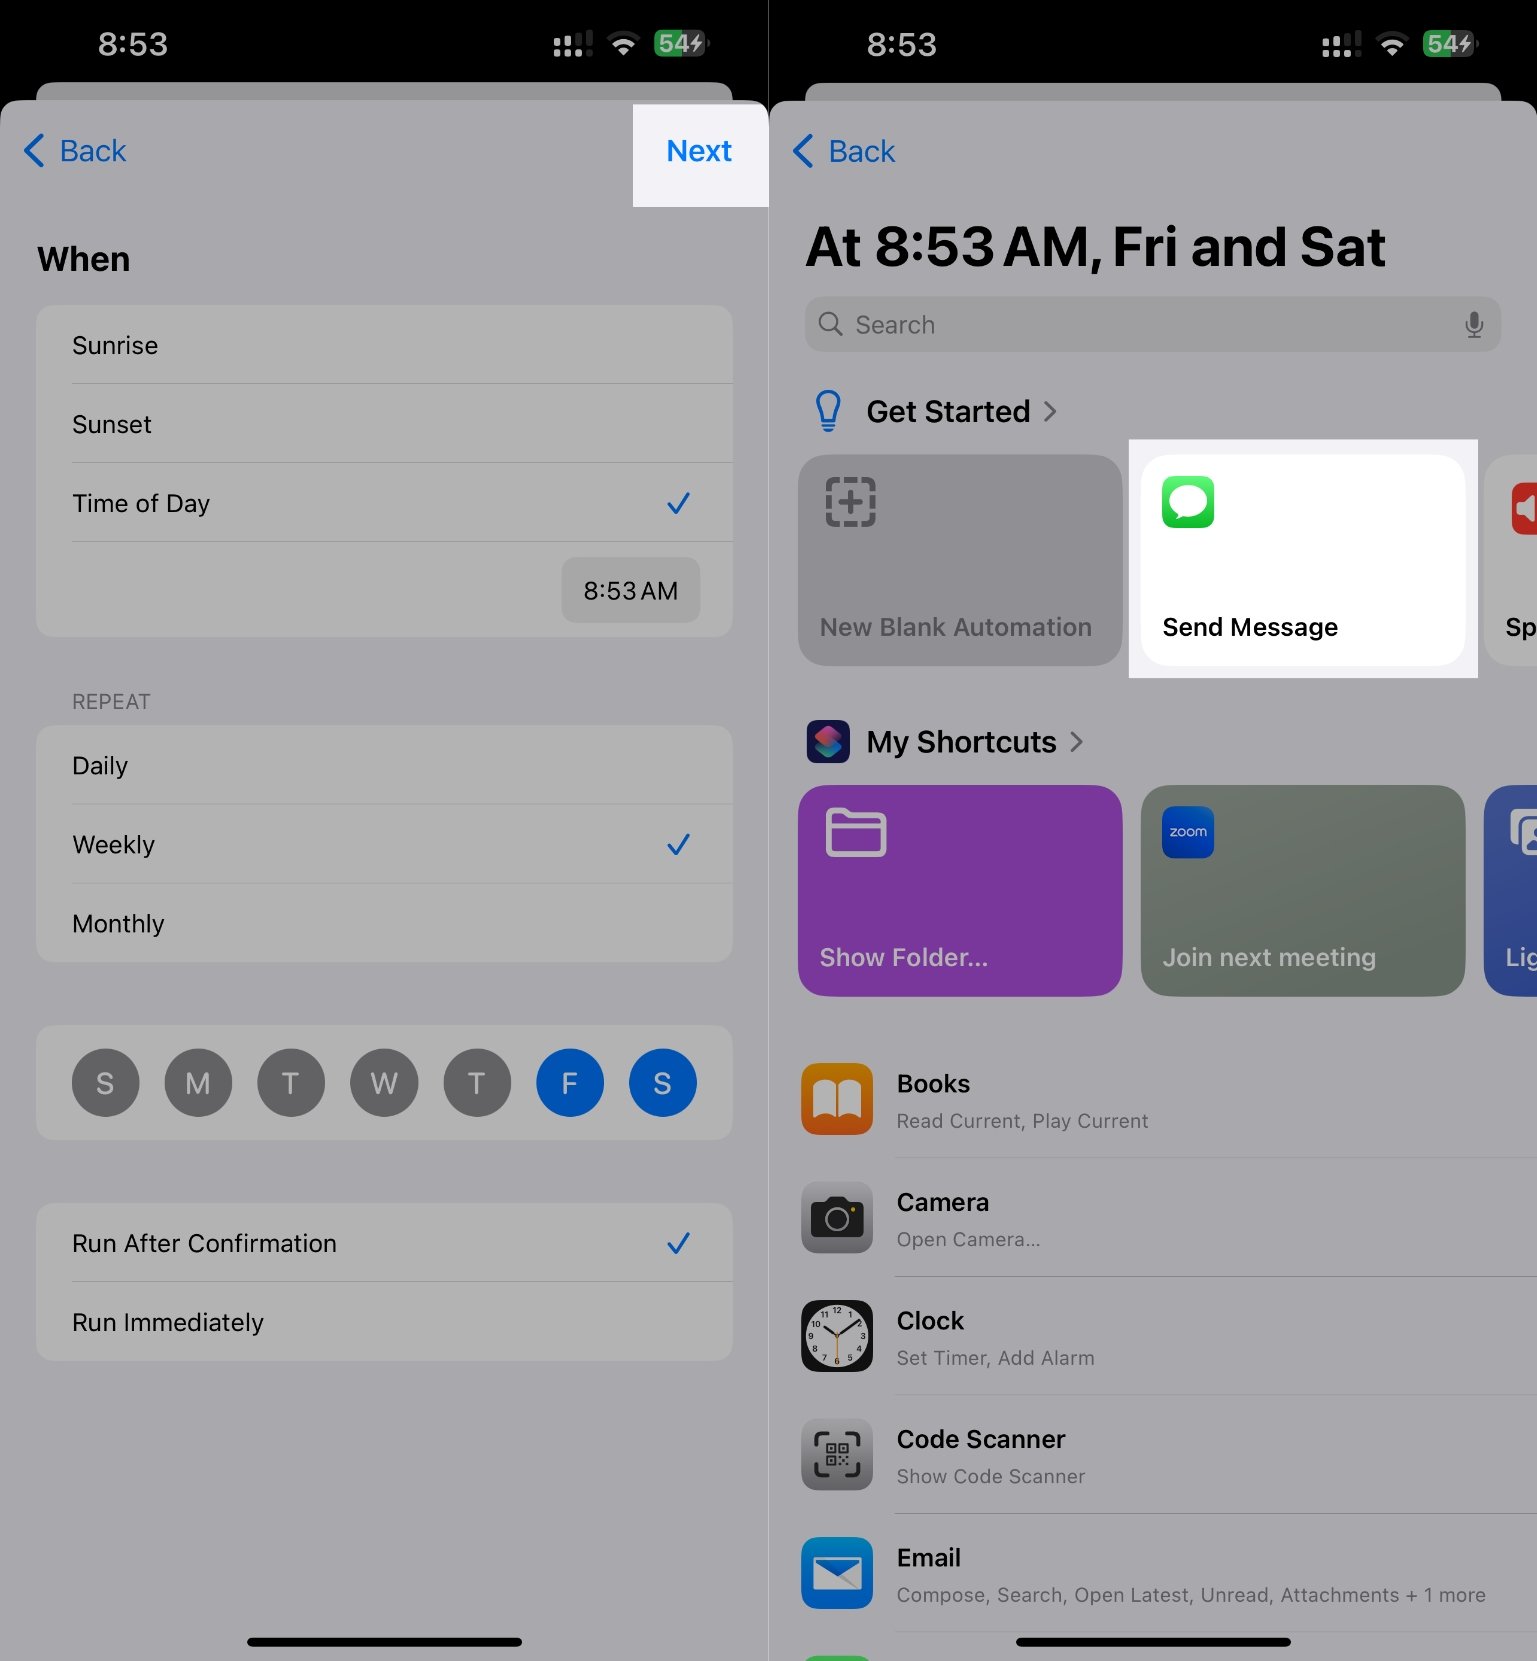
- Now, adjust the task’s Time and Repeat parameters you want and tap on Next.
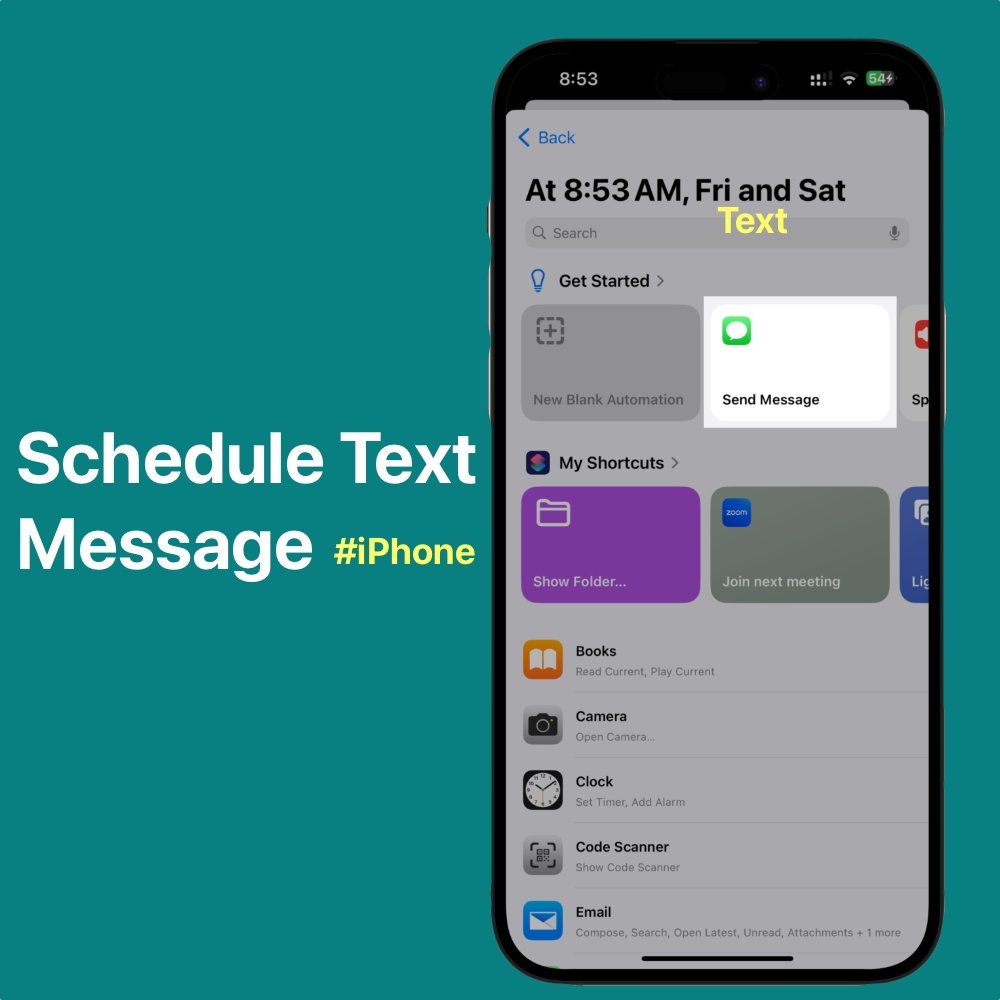
- Pick Send Message under the Get Started section as Highlighted.
- Tap the Message bar & Enter your desired text.
- Now, select Recipients and add the receiver. You can also add multiple contacts and tap Done.
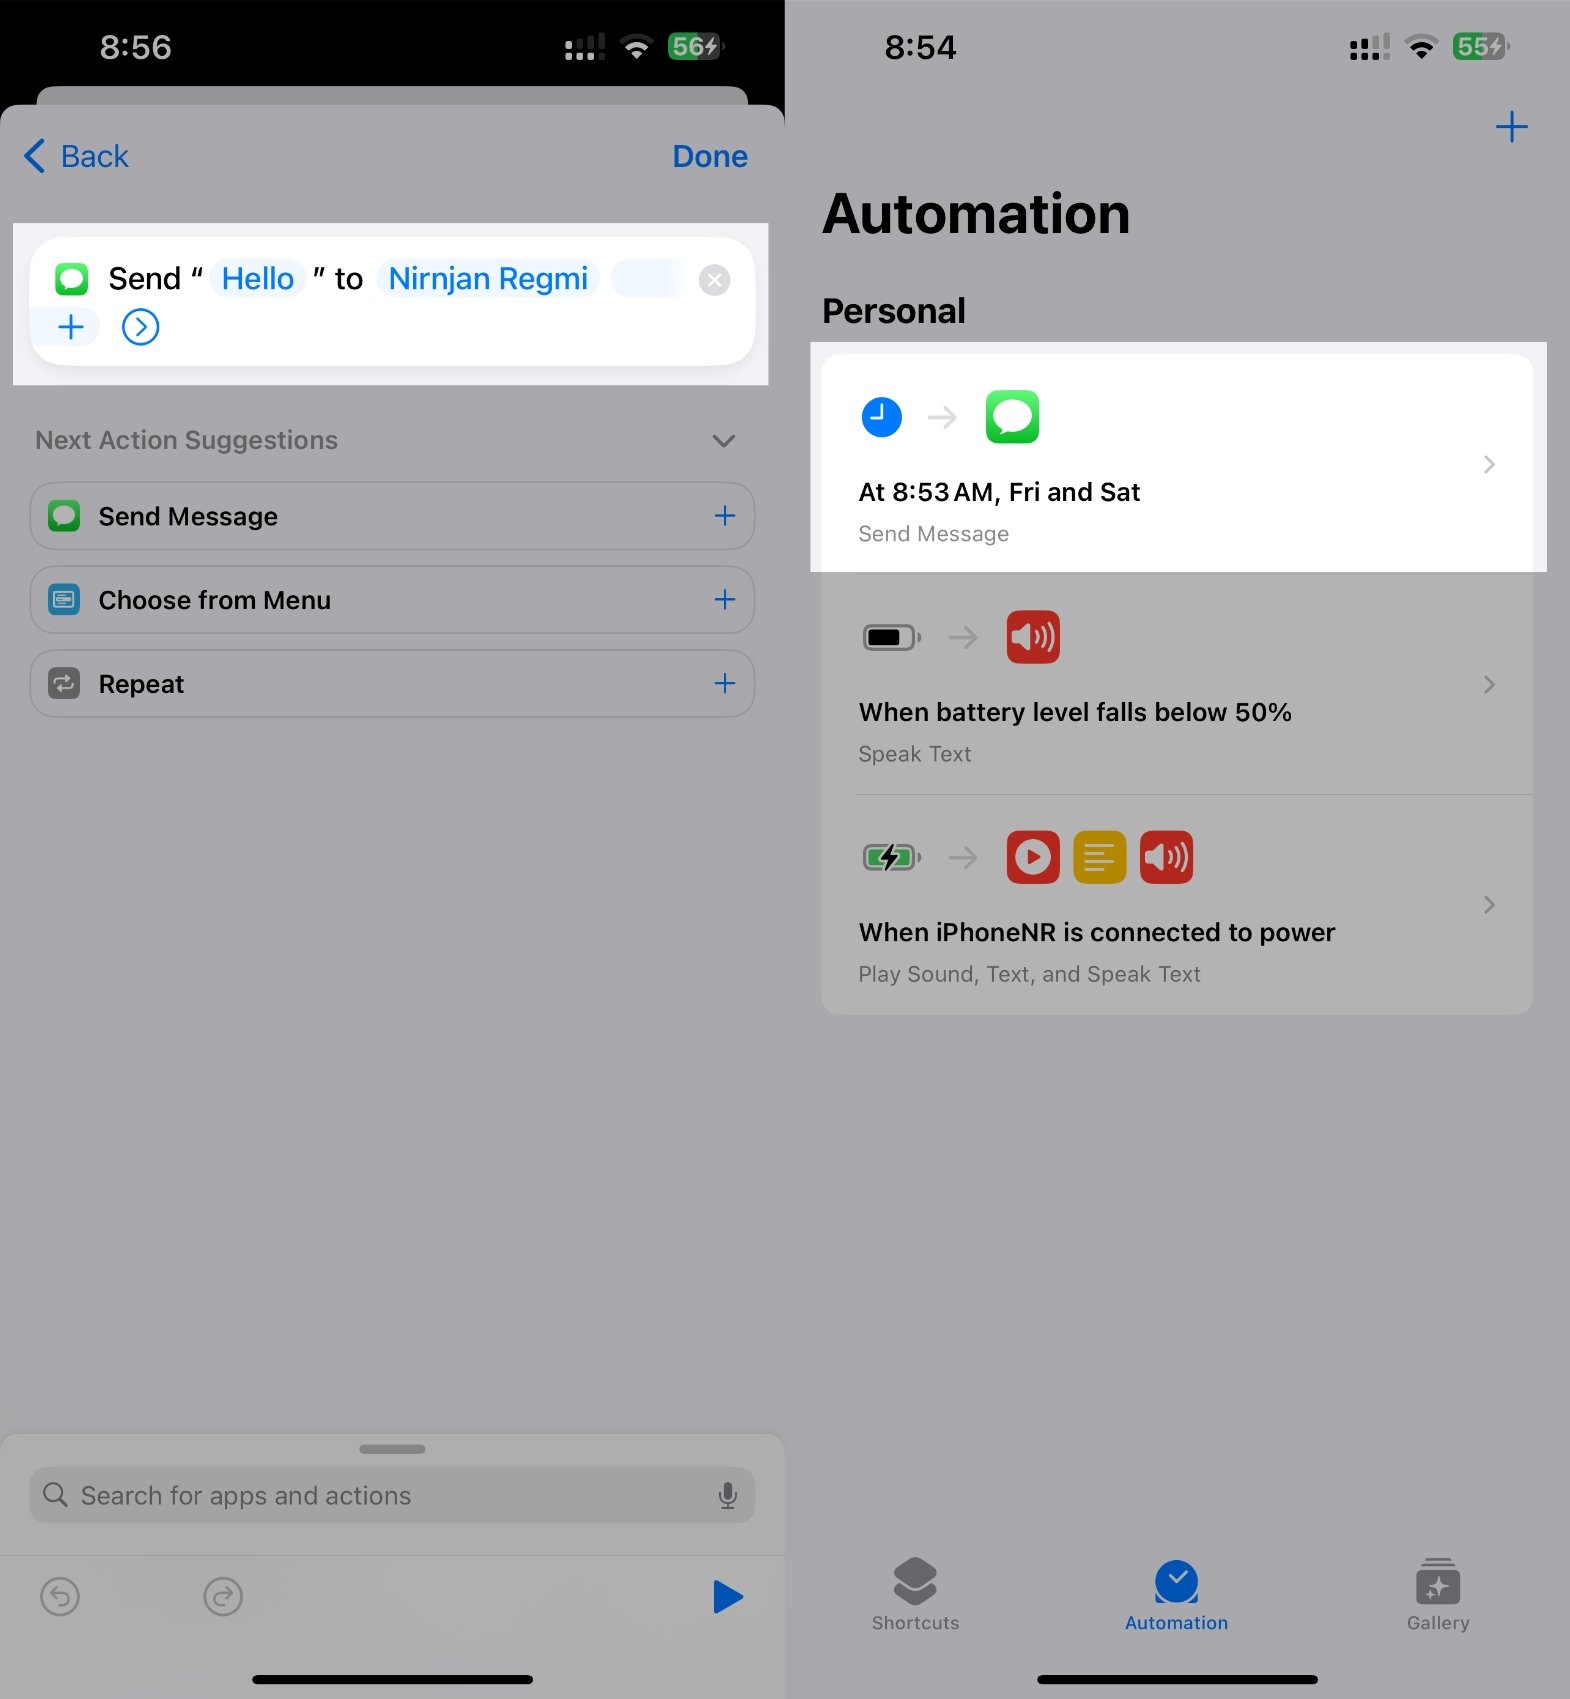
That’s it! A message will now be sent to the recipient at the time you have selected. Additionally, you will receive a status update notification if you checked the box for “Notify When Run” during the shortcut’s creation.
Apart from that if have schedule many texts to send and are already done then you might need to delete from the list. Therefore here’s a simple steps to delete the schedular from Automation.
How to delete a scheduled text message on iPhone
- Open the Shortcuts app → select the Automation section.
- Swipe left on the configured Send message automation.
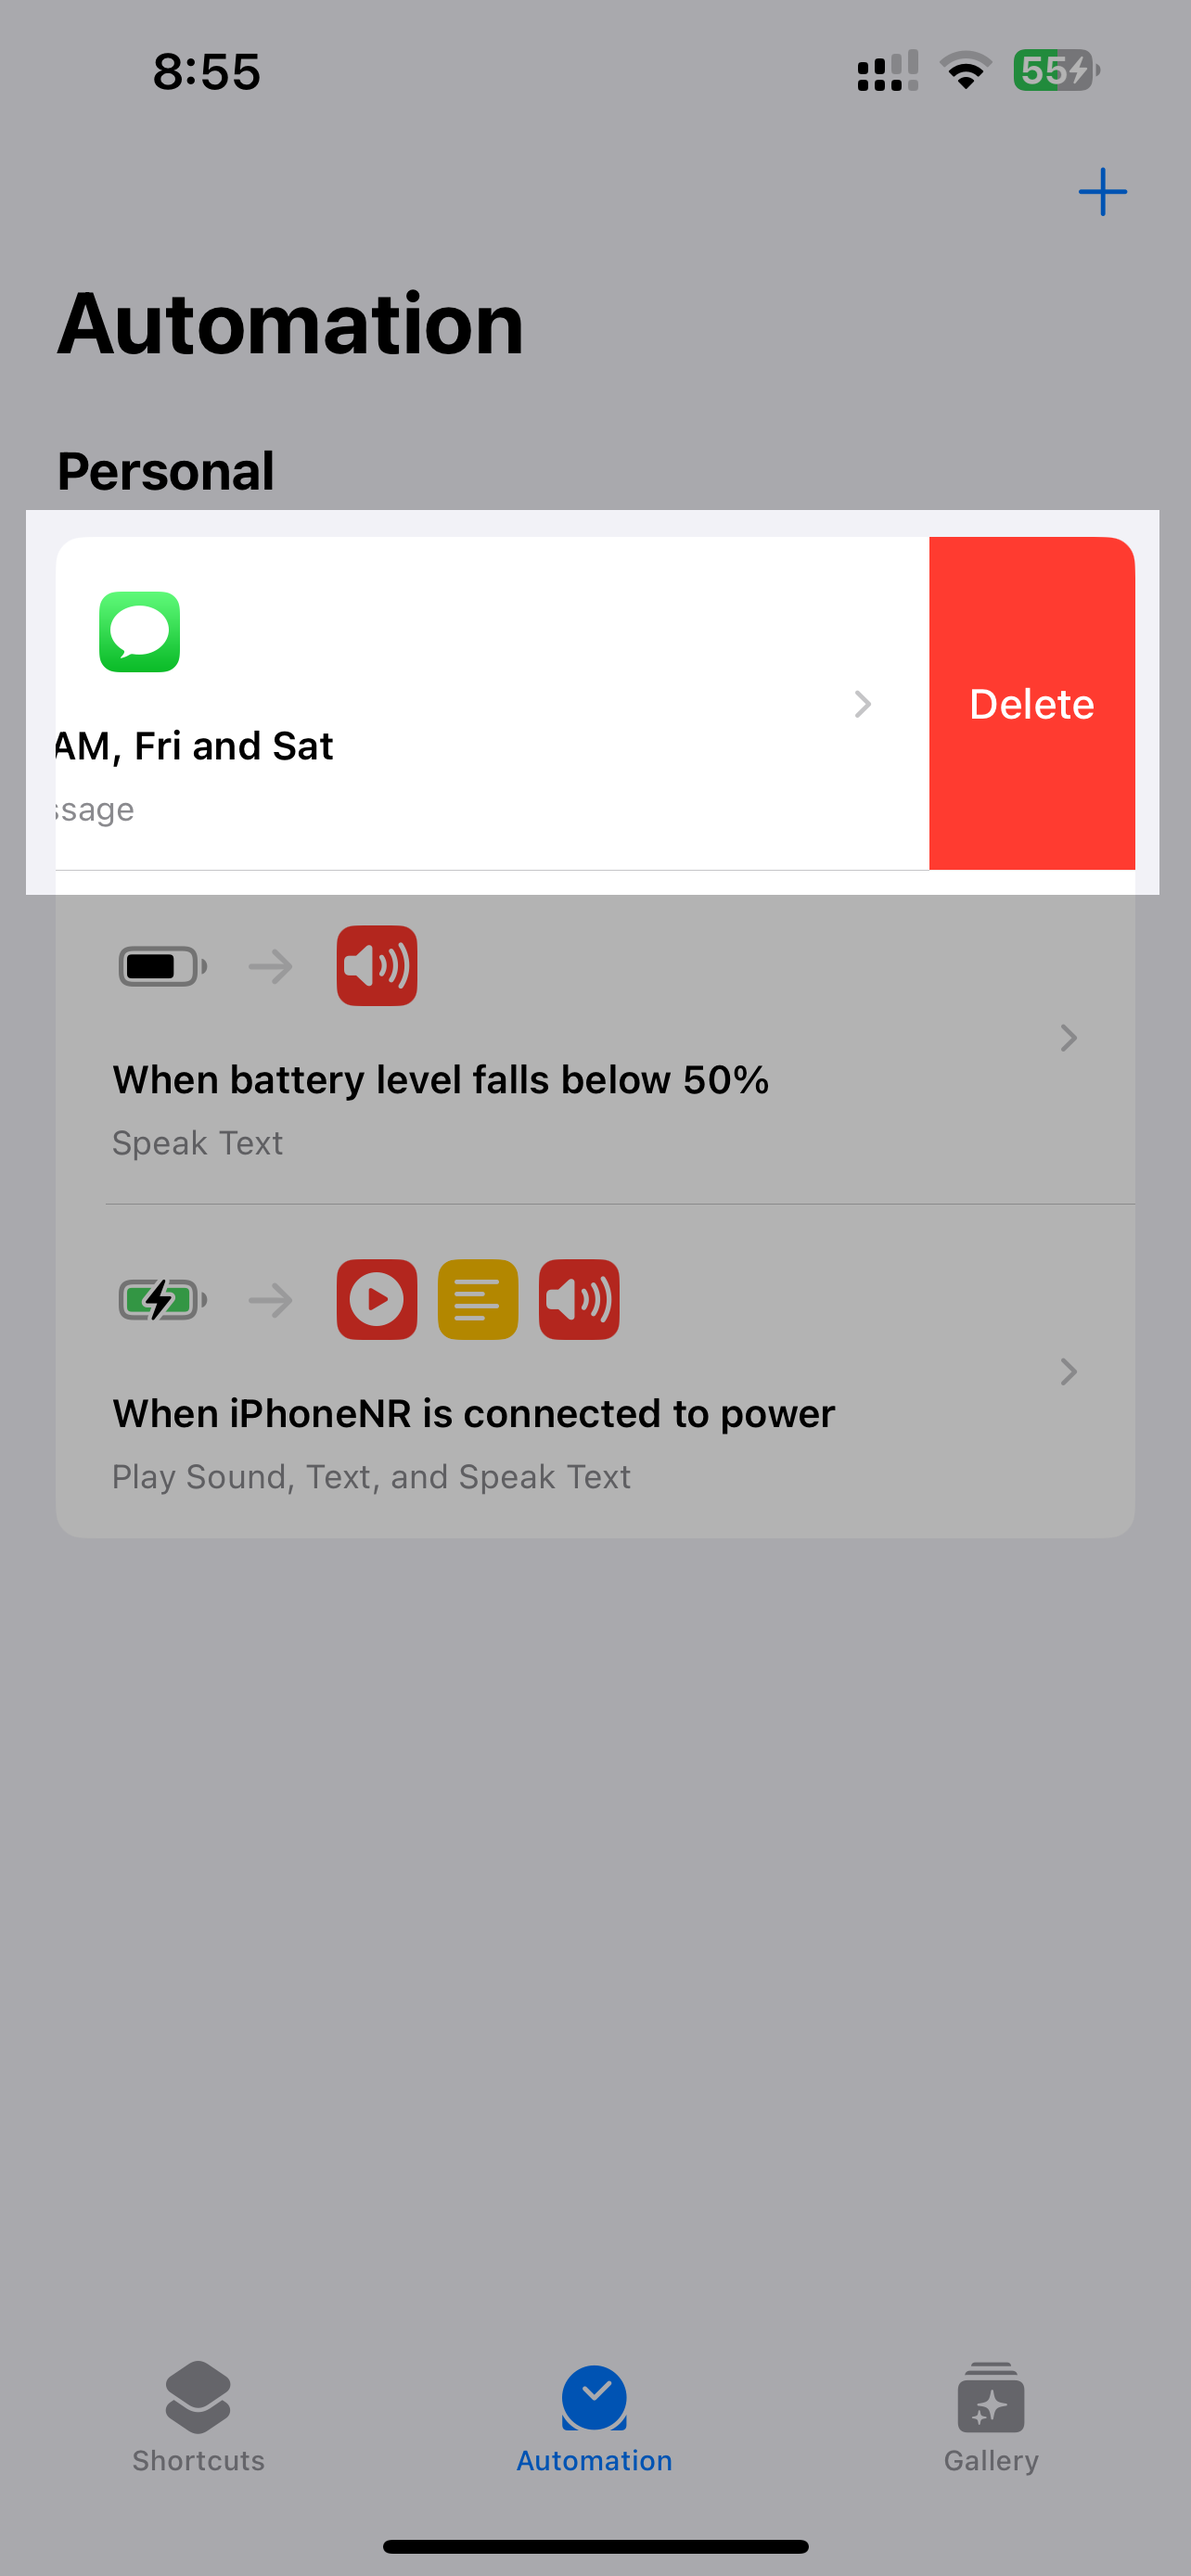
- Tap the red Delete to delete.
Text message scheduling isn’t a function that comes with iOS, but you can still do this easily with the Shortcuts app. Text messages on your iPhone can be easily scheduled by following the instructions in this guide. This will free you from having to remember to send texts manually later. Try it out and start streamlining your texting process right now!
Best third-party iPhone apps for sending scheduled texts
Although the Shortcuts app supports text scheduling, the iterative nature of the schedule requires manual deletion of the automation. Personally, I regard this as a significant disadvantage.
Consequently, if you, like me, prefer to avoid this hassle, you can schedule messages using third-party applications that offer more customizable features.
Numerous third-party applications, including SMS Scheduler, AutoSender, and Scheduled, are available in the App Store for the purpose of scheduling text messages from an iPhone.
After installing and configuring the application on your iPhone, you are ready to proceed.